CMS2CMS blog has a massive amount of information about various content management systems, their specifics and key differences. Now we’re going to talk about Webnode platform and the ways to move it to WordPress.
The Case For Webnode

With more than 30 million websites created, Webnode is one of the larger players among other website building platforms like Weebly, Wix and Squarespace. The target audience is the same – service is created to help people launching simple personal/business websites and online stores. No matter if you’re web novice or experienced user, with help of Webnode it’s easy to launch a website and edit it on any step using drag-and-drop editor. Webnode review from WebsiteToolTester Team can prove it without needless words:
Another key feature of Webnode is the support of over 20 language versions. That can be useful for website owners who intend to reach a foreign audience.
However, Webnode has not only like common drag-and-drop system drawbacks but own particular limitations. This website builder lacks some of the must-have widgets like website search filter, social media buttons, likes, shares, etc. Webnode also has an option for creating blogs. Still, you won’t get the full potential from it as building features are confined and fit more for simple blogs.
In contrast, WordPress offers unlimited possibilities for any type of website. Since this platform is free and open-source, you can easily learn the core functionalities of the system. WordPress is considered as the user-friendly website operation tool with extended feature abilities and versatile design solutions.
Whatever the reason, you’re ready for a CMS upgrade, and you’re considering WordPress as your target platform, CMS2CMS service is ready to help. Migrate your website from Webnode to WordPress in a few easy steps with no coding and additional installation at all. Take a look on the list of supported entities:
- pages/posts
- SEO tags
- content images
- SEO URLs
- attachments
- metadata
- 301 redirects.
Now it’s time to go through the migration steps in detail.
Webnode to WordPress Migration in 7 Steps
Step 1
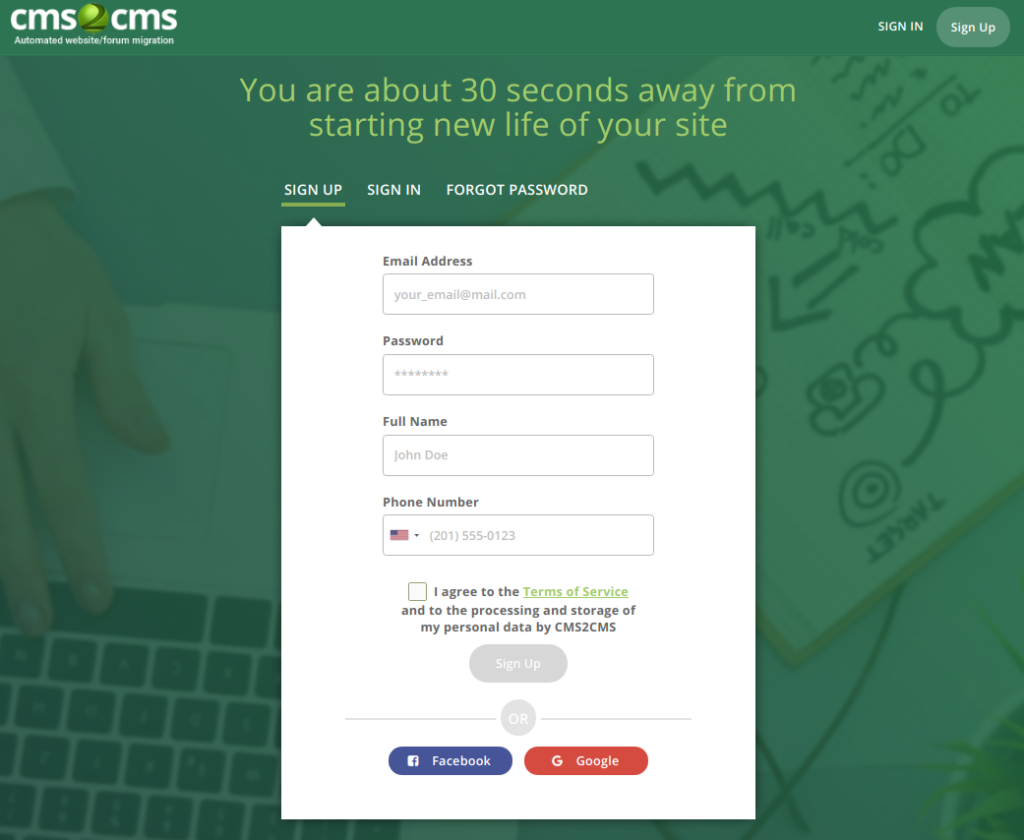
Sign up with CMS2CMS or log in to your existing account. Provide your name, email, phone number and choose a password. You can also sign in via your Facebook or Google account. For this, choose the appropriate option.
Step 2
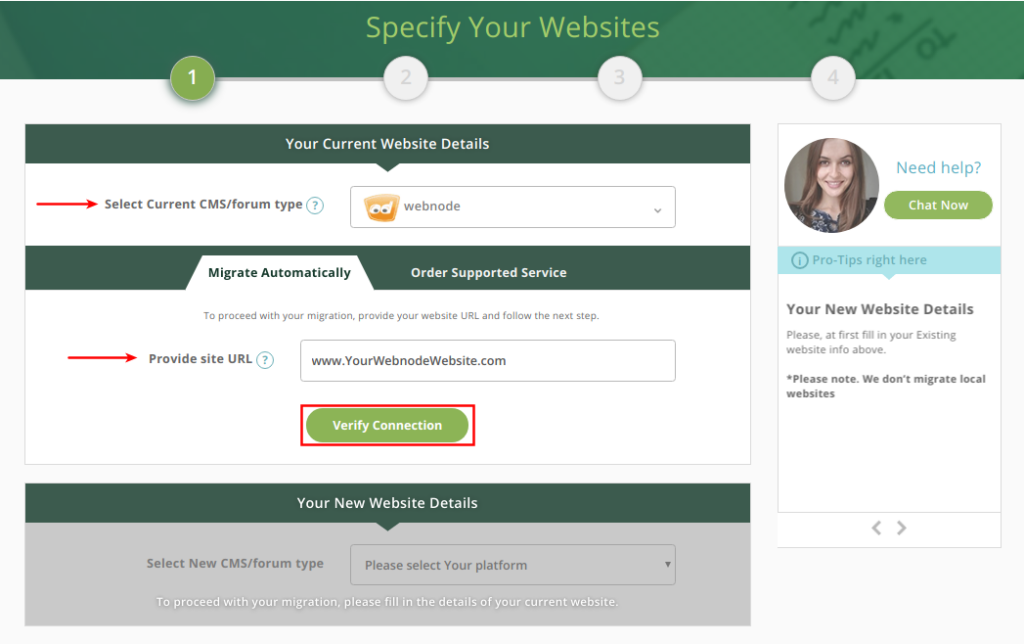
Connect to your existing website. For doing this, choose Webnode as your Existing CMS and enter its URL into the provided field. Press ‘Verify Connection’.
Step 3
Provide your new WordPress website details. In case, you don’t have your WordPress installed yet, you can try the migration to CMS2CMS Test Site.

Step 4
Set up the Connection to Your New WordPress Website via Connector Plugin installation. Download the plugin zip file and go to Admin Panel -> Plugins -> Add New -> Upload Plugin. Choose the downloaded file in zip format and click the “Install Now” button. Activate the ‘CMS2CMS Connector’ at Admin Panel -> Plugins. Log into CMS2CMS.

Step 5
Before migrating Webnode to WordPress, CMS2CMS service offers you to preview the future look of your website and run Free Demo migration. Choose the Entities and needed additional options you are going to migrate. In case you want to migrate all your data without Demo, you may skip this step.

Step 6
Check the Free Demo result. If you are satisfied with the result, complete the migration.

Step 7
That’s it! Now you are a happy owner of WordPress-powered website with all your Webnode content on it. Check the results!
***
We hope that this walkthrough will help you to avoid flaws during and after the migration process. With CMS2CMS tool you don’t need to get your hands dirty by moving to your brand new WordPress website 😉