1. Register your CMS2CMS account
Create a new one or sign in via Facebook or Google.

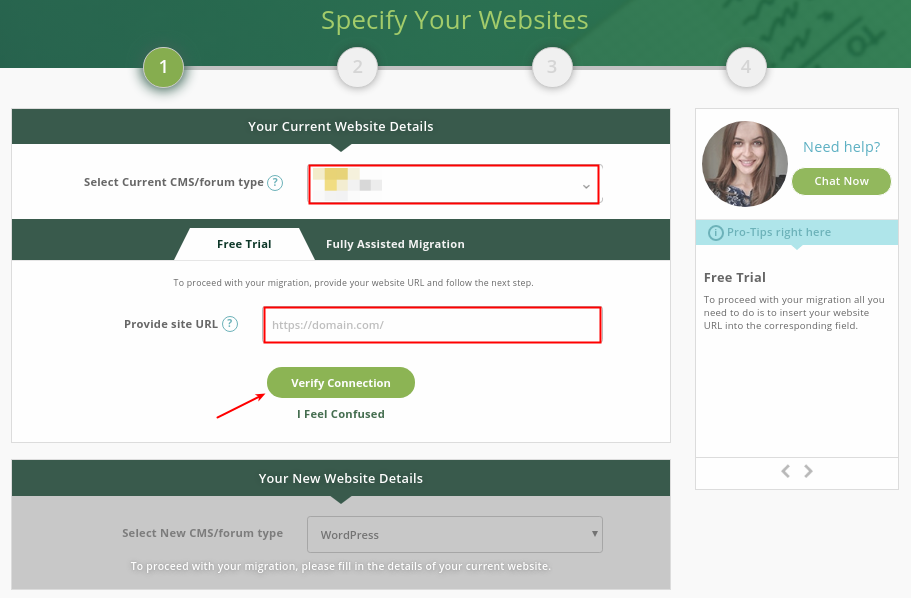
2. Select current CMS and its URL
You have to identify your Existing site info, and then Press the ‘Verify Connection’ button.
3. Enter your new CMS info
Select WordPress, provide its URL and press ‘Install Connector Plugin’. In case you don’t have a new WP site yet, you can choose ‘Migrate to Our Test Site’ option. You will be able to check its approximate appearance and observe the functionality. After that, verify the connection again.

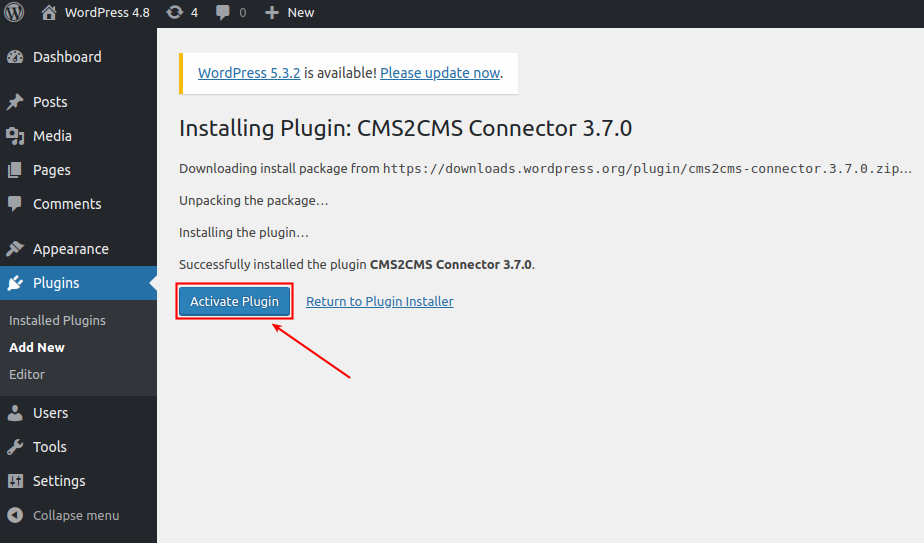
4. Press ‘Install Now’

5. Activate it You will be redirected to your WordPress admin panel page. Activate Plugin.
6. Press’CMS2CMS Connector’ like it is shown on the screen below.

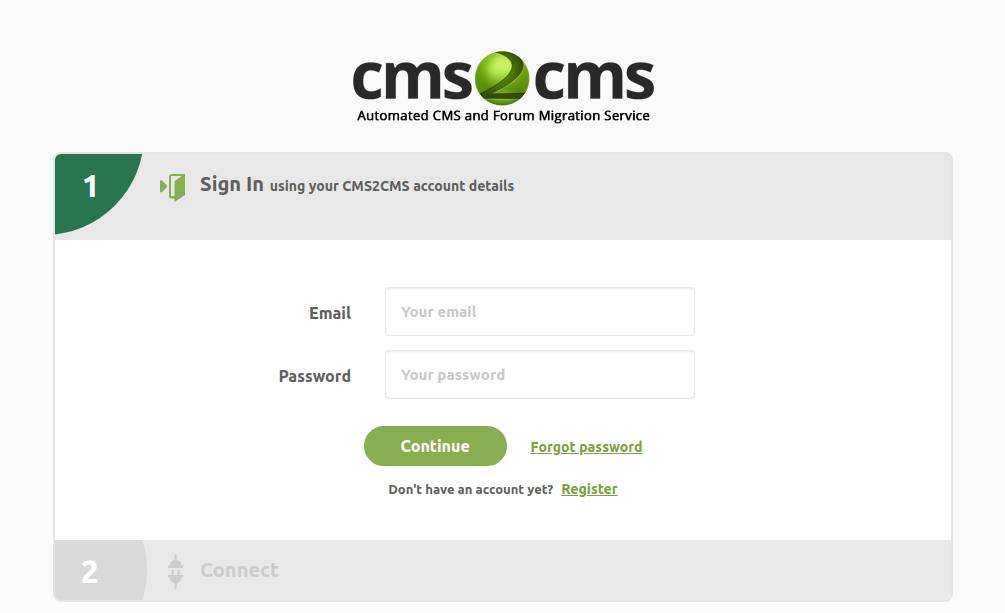
7. Connection Sign In here again. Press ‘Continue’ and then the ‘Proceed’ button.
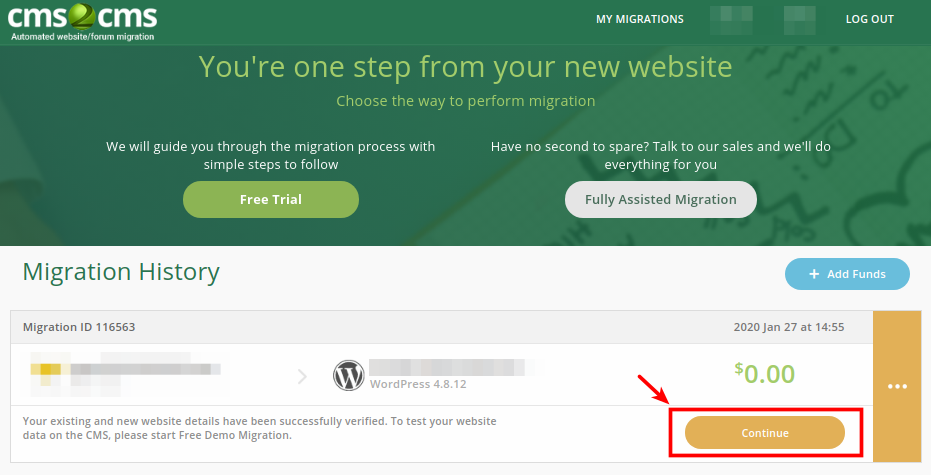
8. Verify Connection Press the ‘Continue’ button and ‘Verify Connection’ again.
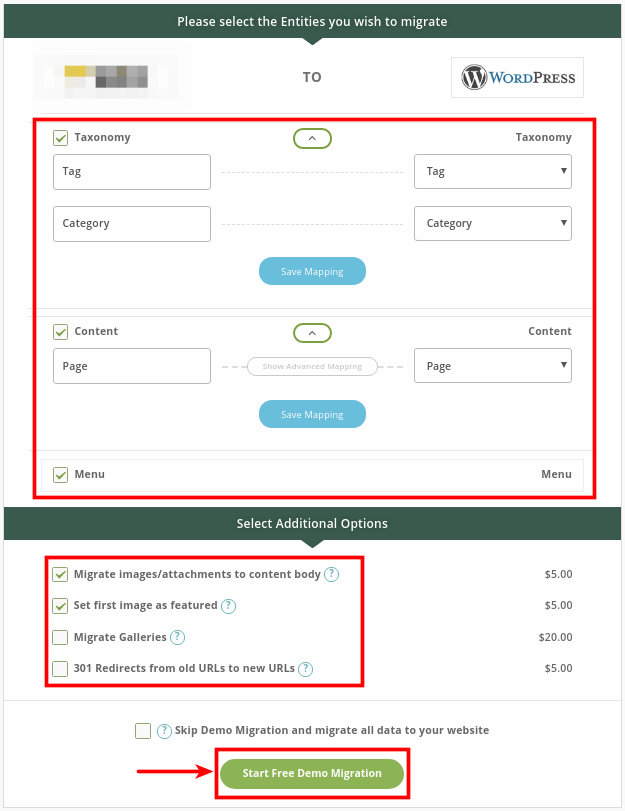
9. Set Up Free Demo Migration Please, select the Entities you want to migrate and Additional options. Don’t be afraid of the prices – Demo Migration is totally Free. The prices just are added for you to be aware of the approximate cost of Full Migration.
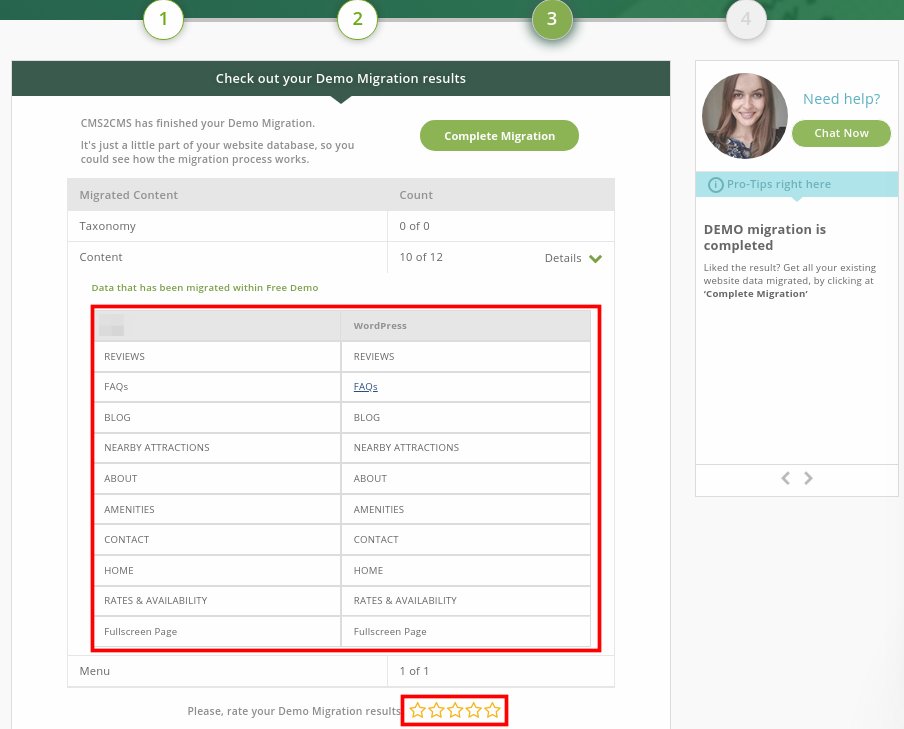
10. Check the results This table includes Clickable links. On the left side – your previous site categories. On the right side – the new one – the same categories on WordPress. Remember that it’s an approximate appearance. After Full migration, you’ll be able to select one of the WP beautiful themes. Also, at this step, you can observe the new CMSs functionality and then rate the results 😉 In case you are satisfied with the results you can add or delete Entities, Insurance and start Full Website Migration. (Note that migration time depends on the amount of the content you’re up to move to a new website) By the way, in case you are moving to a WP, you can ORDER DESIGN transferring too! (After performing Full migration)
When your migration is complete, you’ll get a notification and will be able to enjoy your new WordPress site!